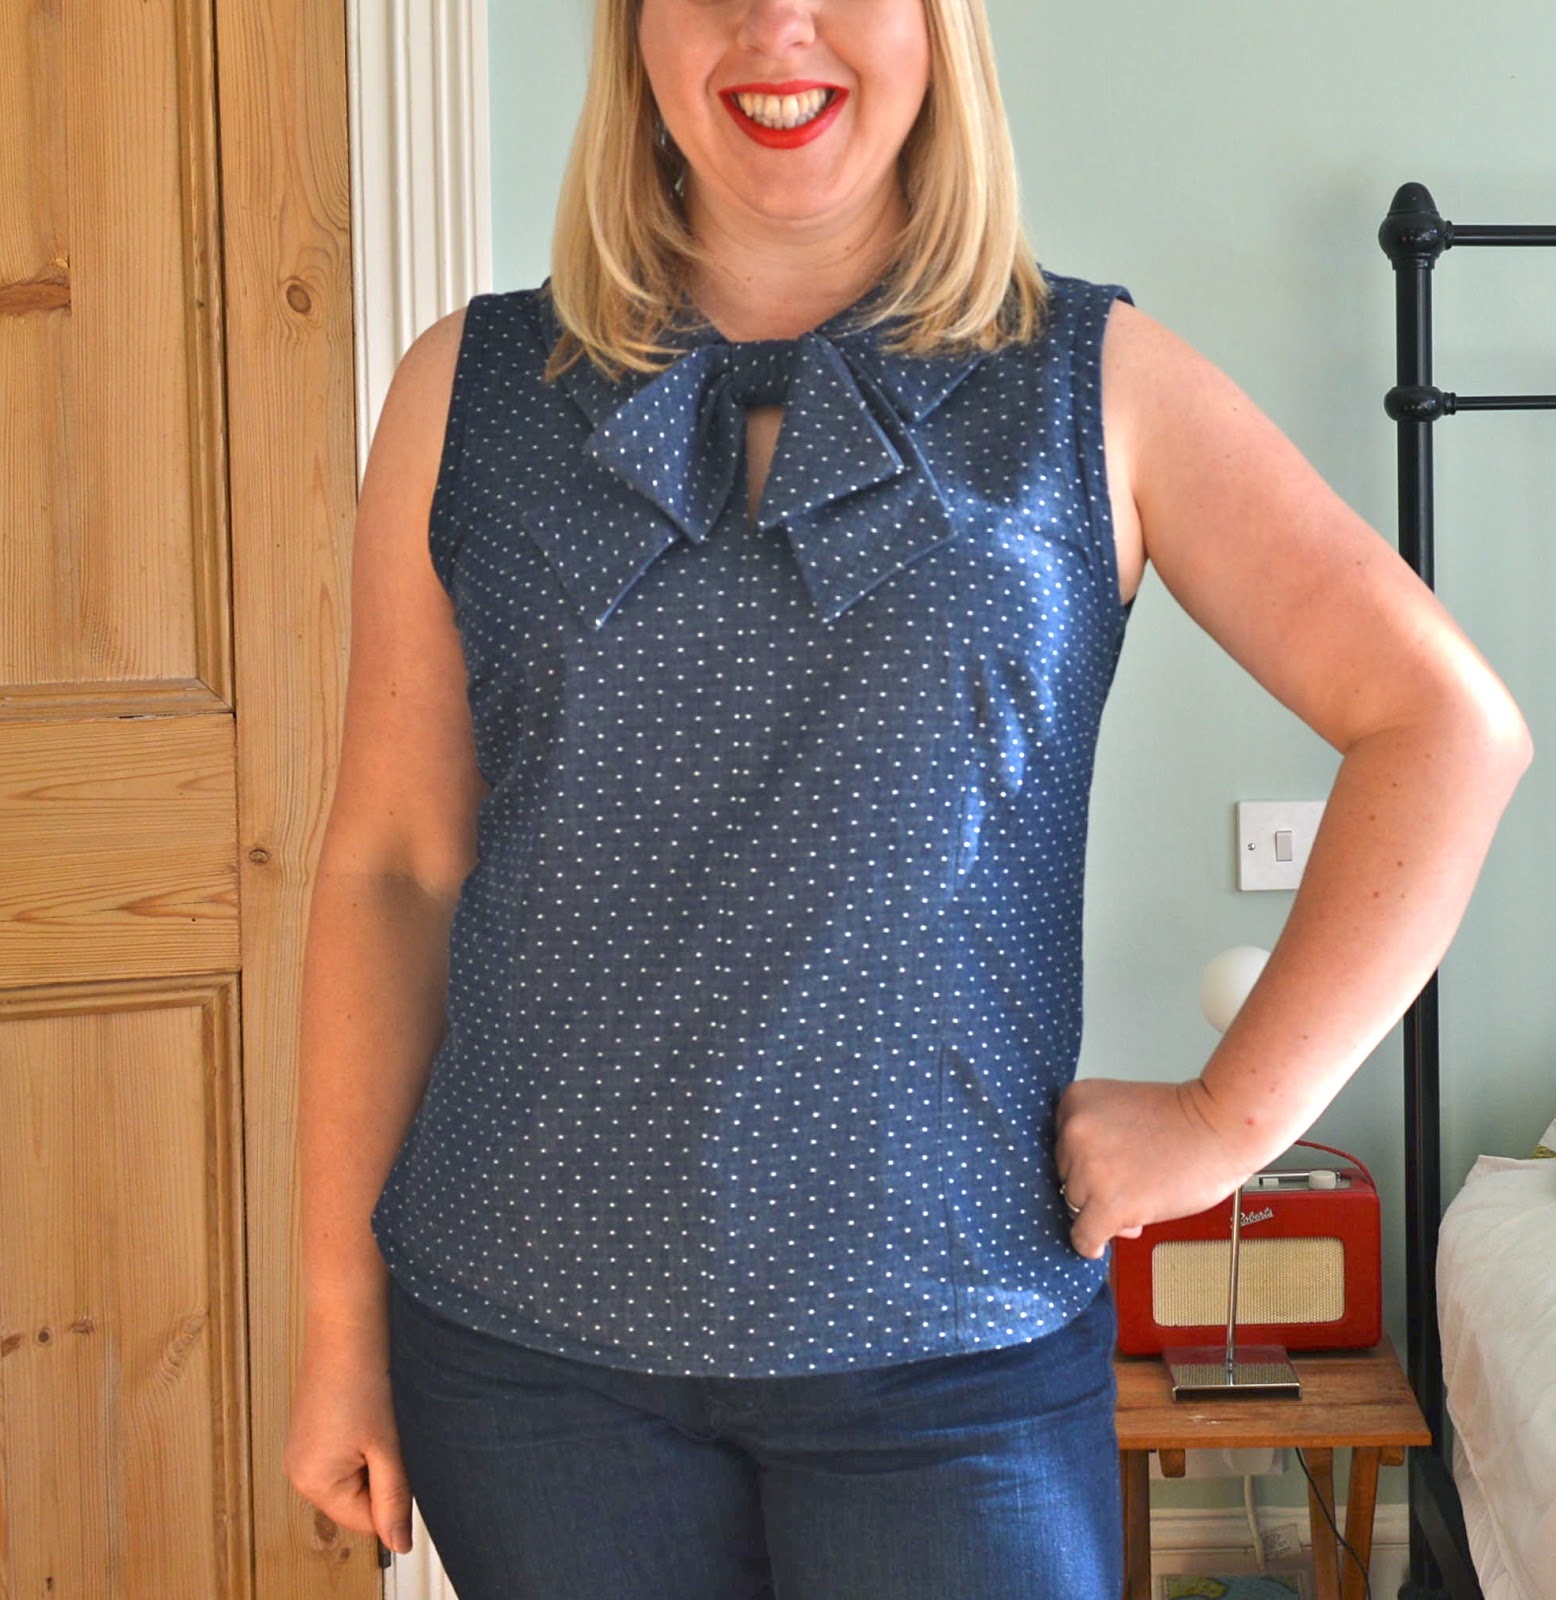
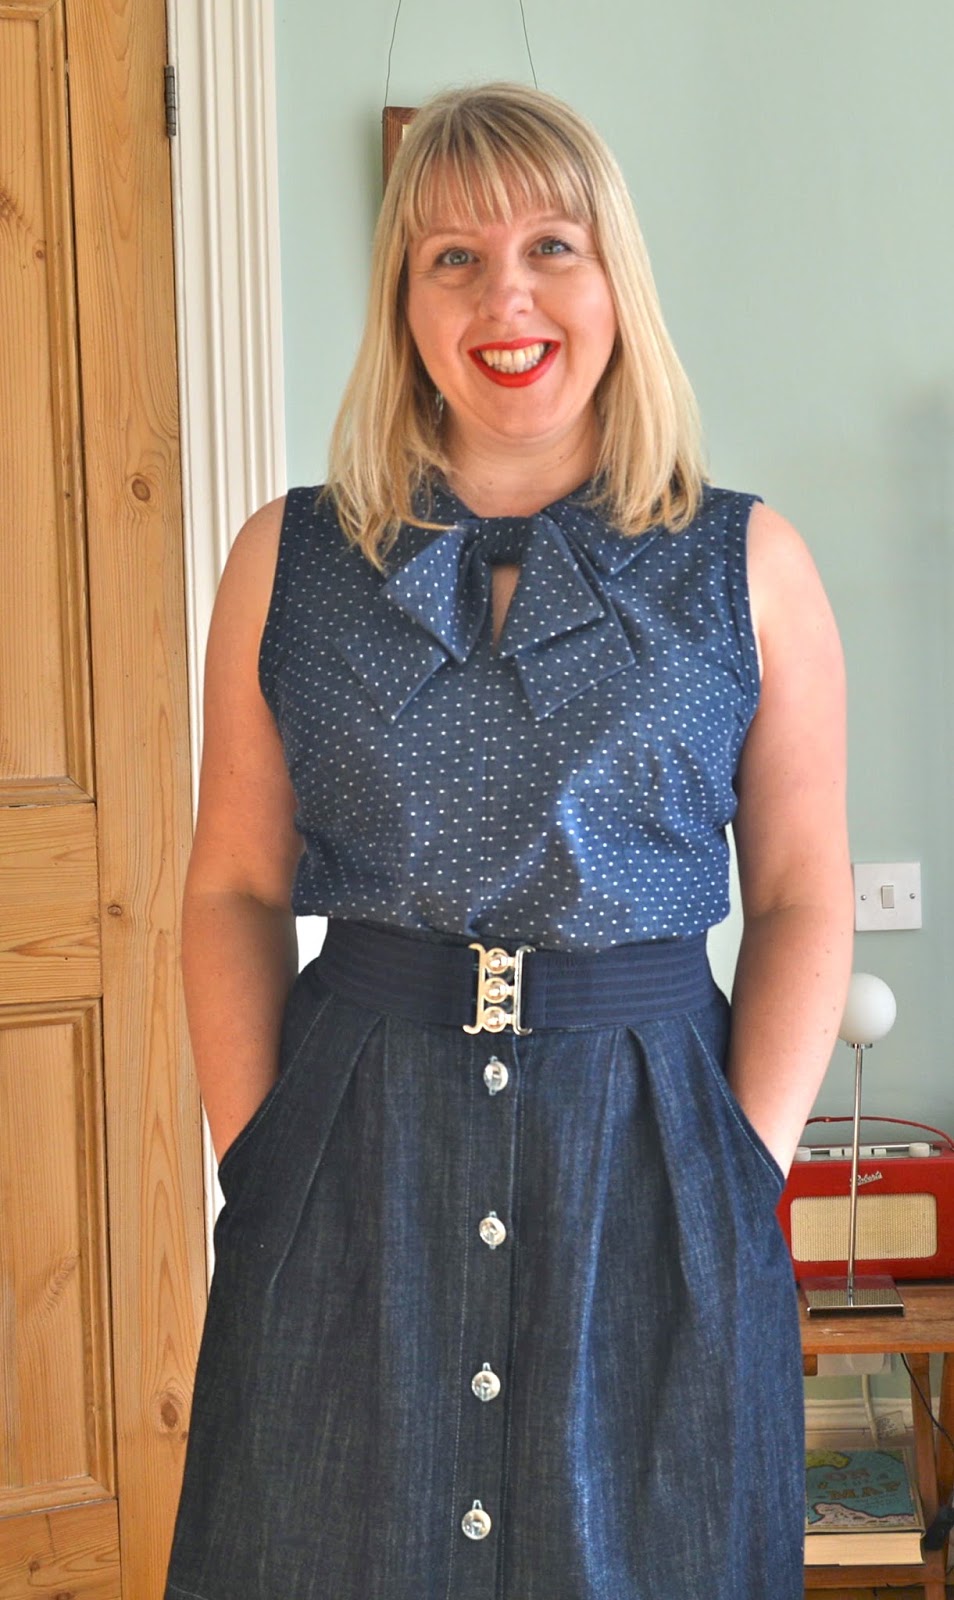
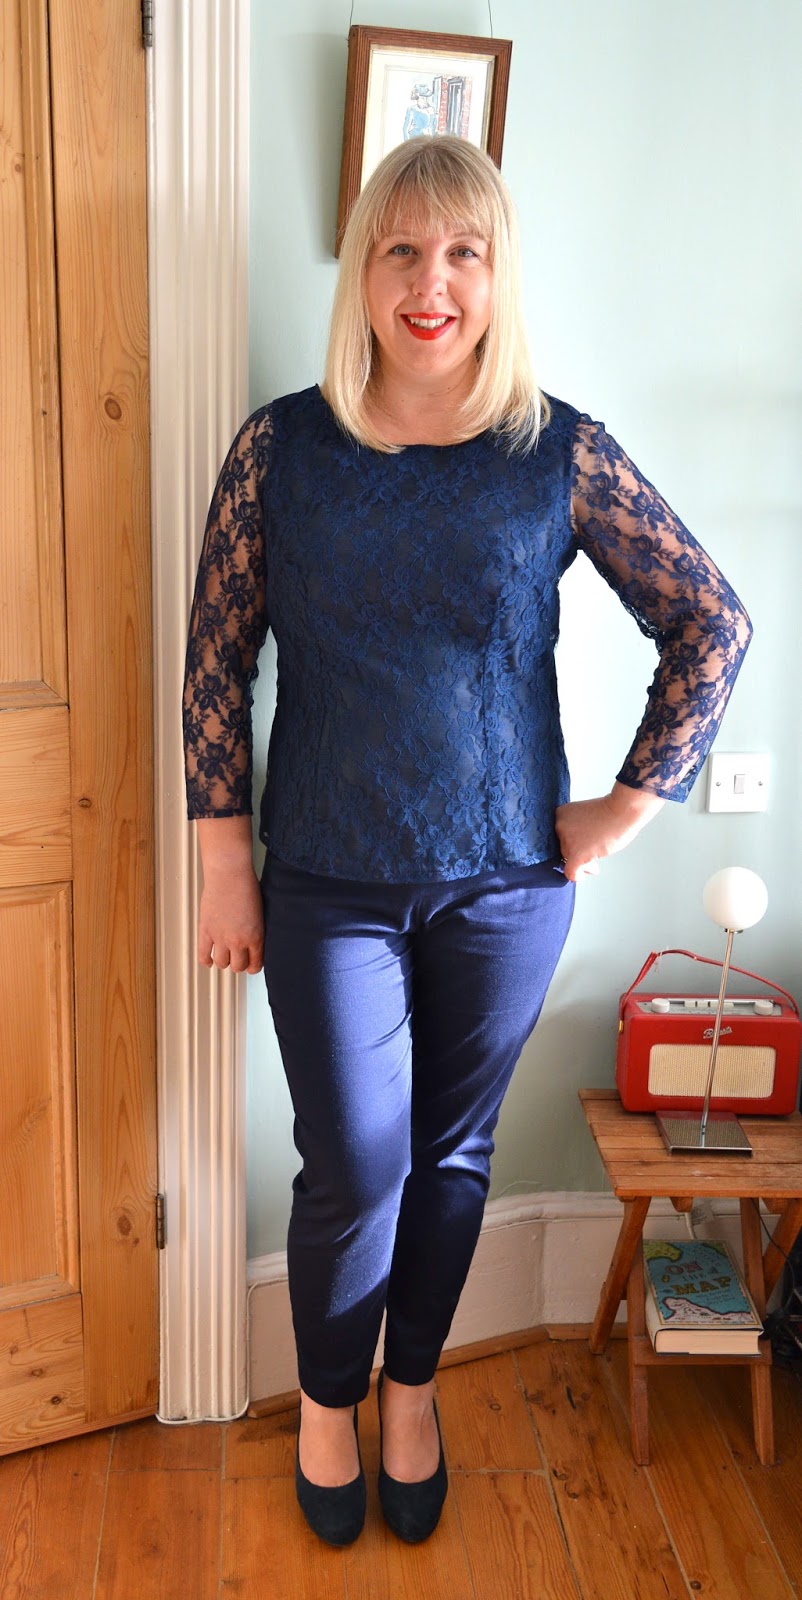
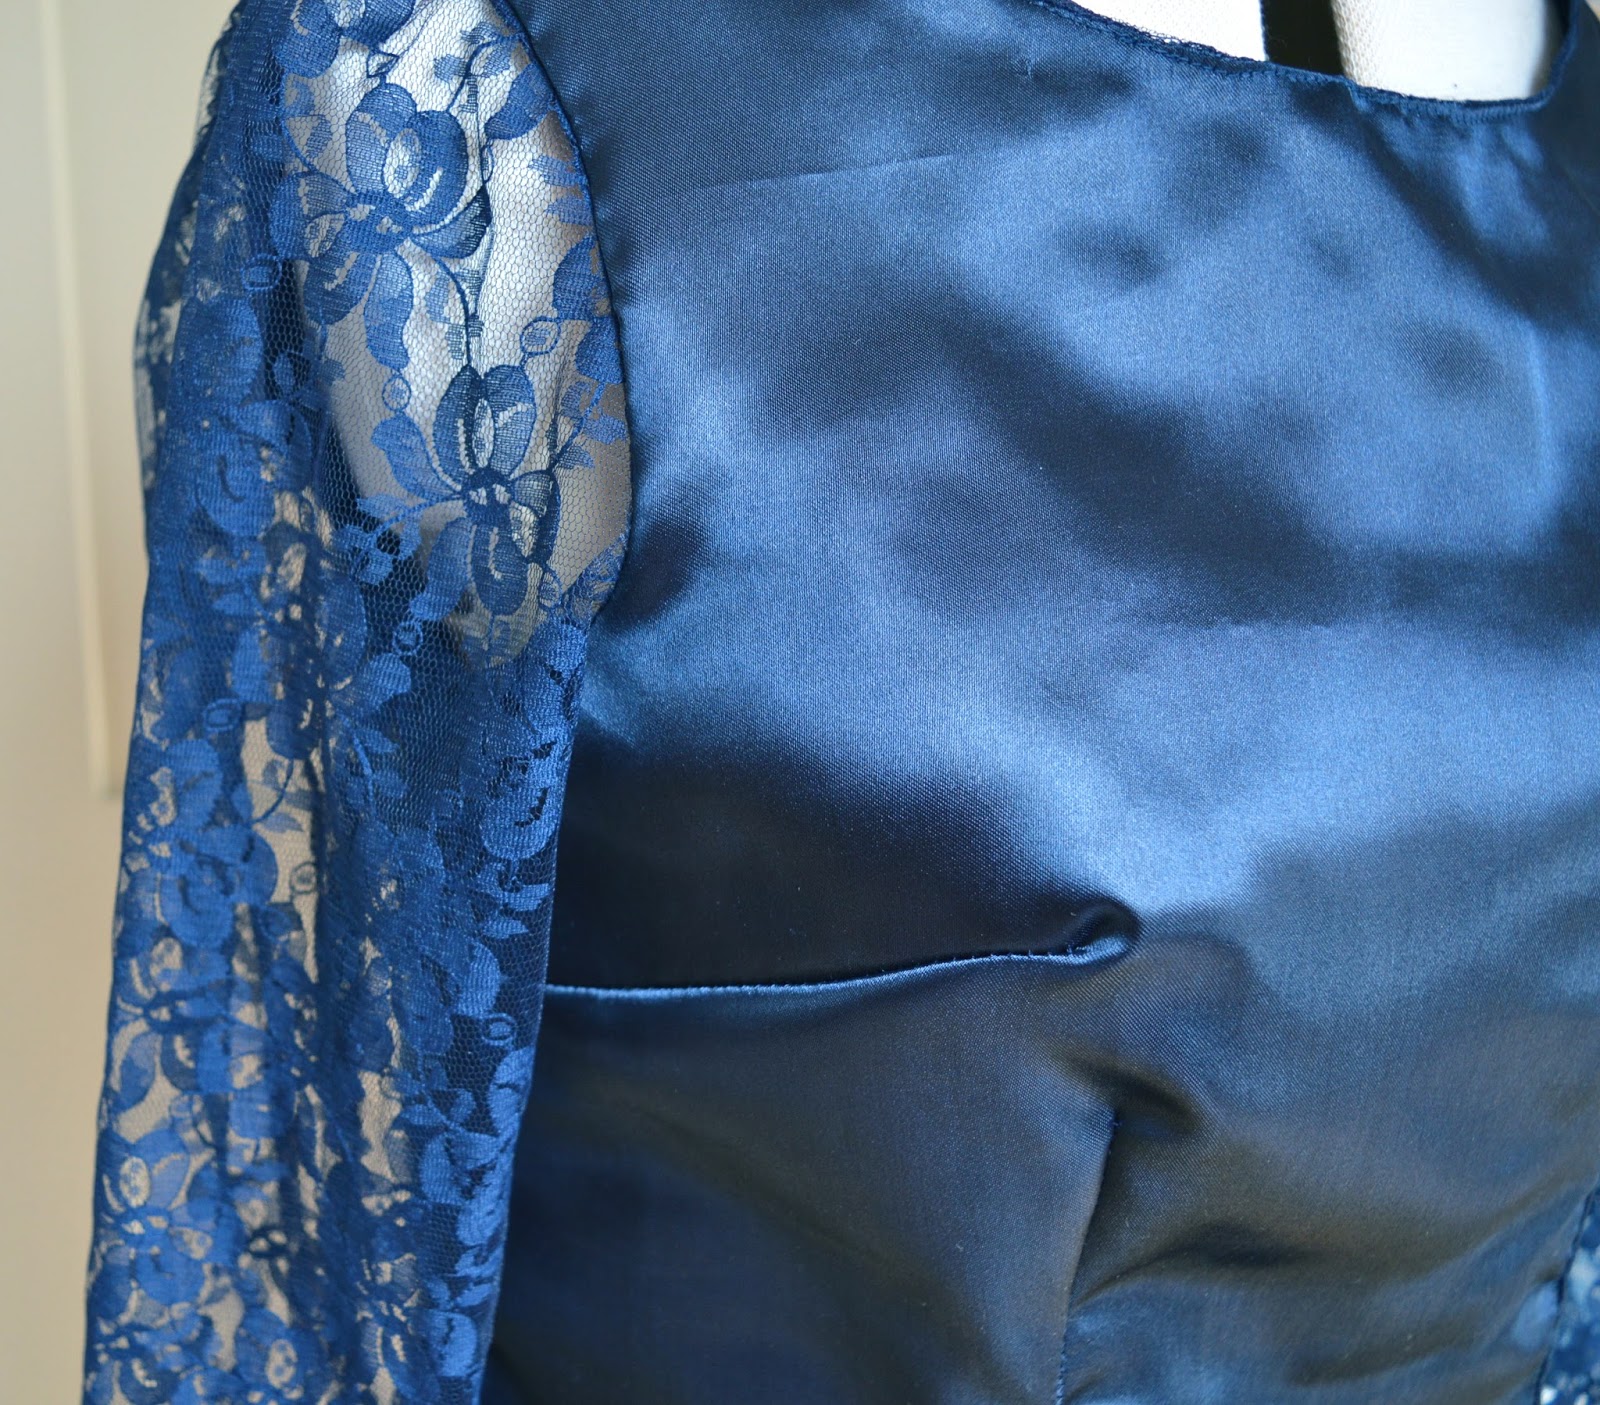
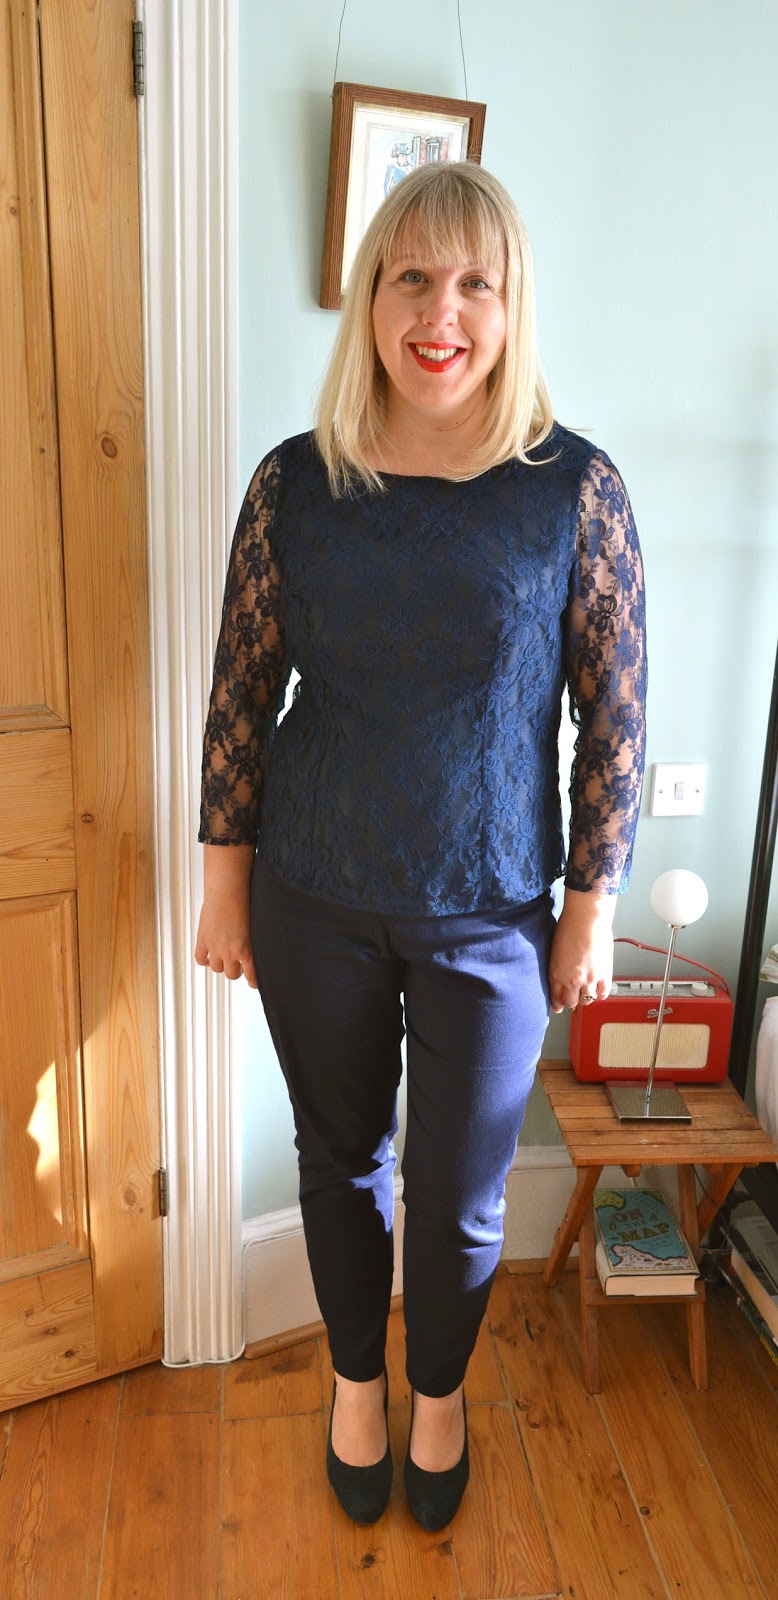
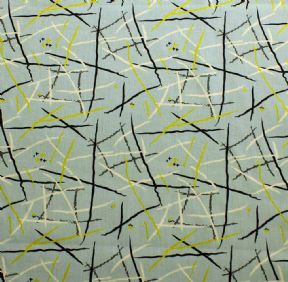
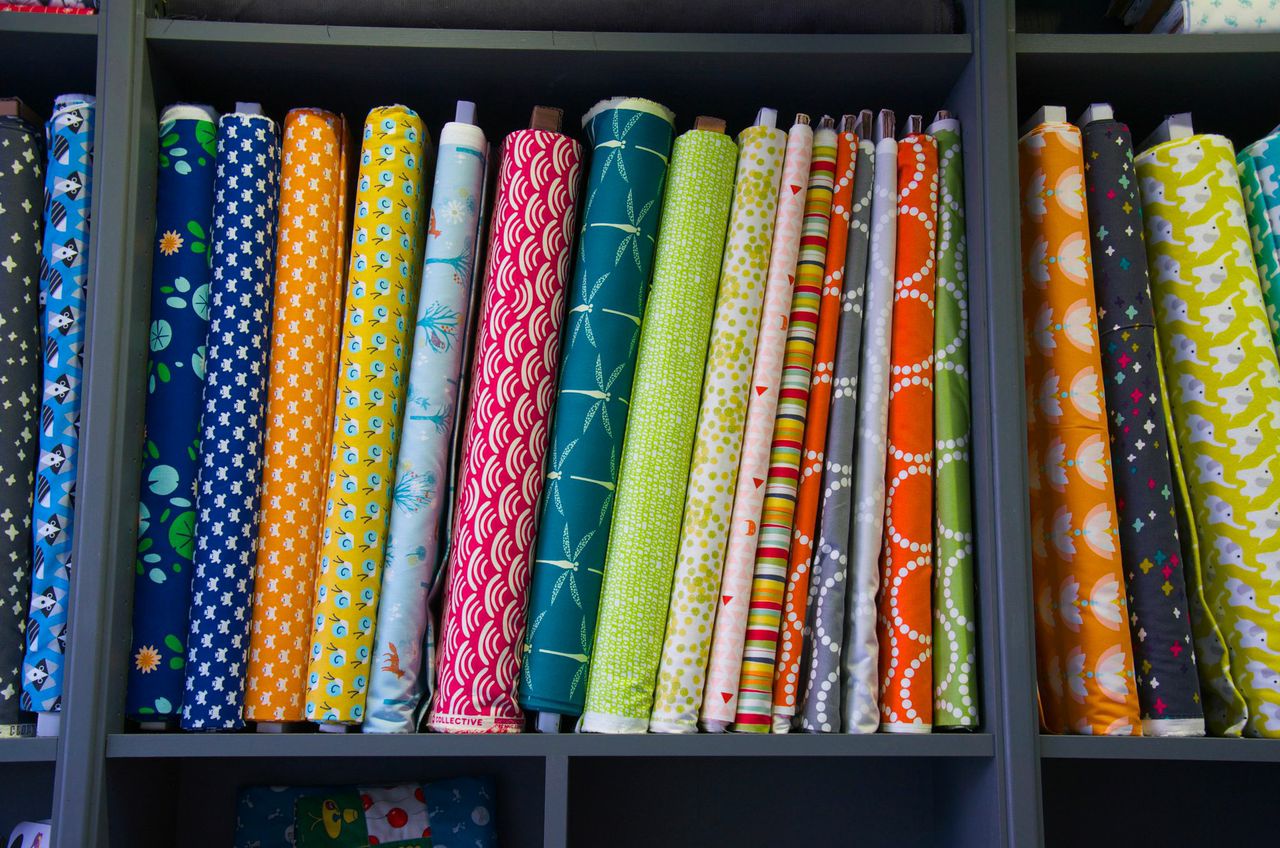
Somebody recently tweeted a link to the new Hemingway Design fabrics and I was immediately smitten. If you're not familiar with the Hemingways, they're a UK husband and wife design team (Wayne and Gerardine) who started out with a stall on Camden market in the 1980's, before creating fashion label Red or Dead (from which I bought a wonderful pair of brogues, long, long ago). Since then they've designed more or less everything - wallpaper, furniture, haberdashery - organised many a Vintage Festival, and managed to pick up a couple of MBE's along the way too. They've now added a mid-century inspired textiles collection to the mix and I just LOVE it - here's a small selection of the designs:
 |
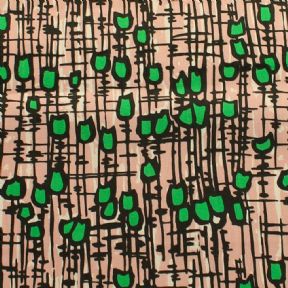
| Yellow Tulip |
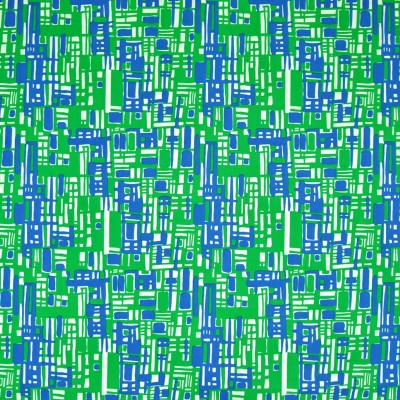 |
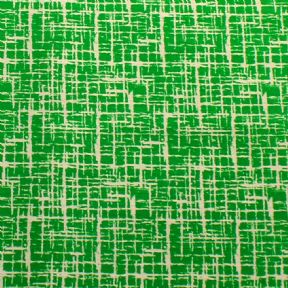
| Emerald Texture |
 |
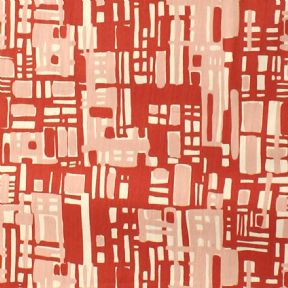
| Brick Knotted Up |
-400x400.jpg) |
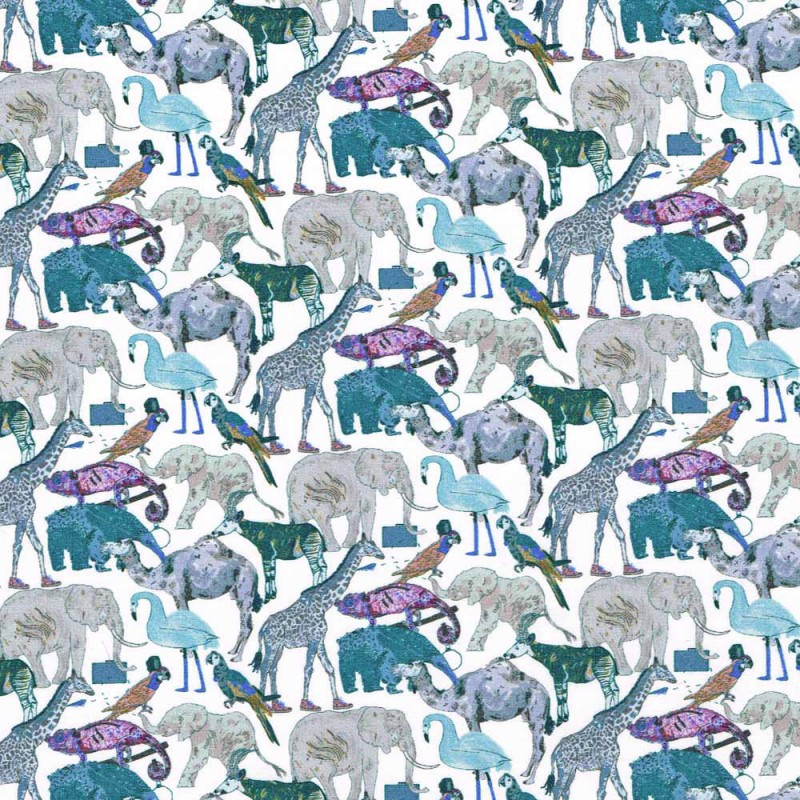
| Duck Egg Grid |
The first one is my favourite as it manages to combine tulips, crosshatch and yellow all in one go. The last one is probably the one I'll buy though…. I've already got visions of a shirtdress.
Now to the chance encounter in the title of this post…. another event that Wayne Hemingway organises is the Classic Car Boot Sale which took place last weekend at the Olympic Park. My boys were keen to try out the Olympic pool and I like nothing better than mooching around a car boot sale, so off we set for virtually the entire length of the Central Line. Just as we approached central London, a man got on the tube with a dog. Charlie is a bit nervous around dogs, so whilst I was reassuring him of its friendliness, the man started chatting to us. "Is that Wayne Hemingway?" Jon murmured out of the side of his mouth. "YES!" I replied, just slightly over excited! The man (let's call him Wayne) asked where we were off to. We mentioned the Classic Car Boot Sale and then got chatting about lots of things: his new fabrics (naturally), 'Oh, You Pretty Things' on BBC4, dressmaking in general, the importance of UK production (his fabrics are manufactured by British textiles company Makower), dogs, Northern Soul, and because we're all British - the weather. His dog - a Springer Spaniel/Labrador cross - was the loveliest, most gentle dog I've ever come across and Mr Hemingway himself as friendly and charming as I'd always imagined him. He's also from Lancashire so I may be a bit biased!
You can see more of the Hemingway Design Fabrics here and here. And no, I'm nothing to do with his company, I just happen to like the fabrics.
You never know who you might meet on the tube eh?! x
You never know who you might meet on the tube eh?! x