Today I'm going to share a tutorial for a mobile phone or iPod holder. I've lost count of the number of these I've made - they're quite simple to put together and make great little gifts. They're also a good way of showcasing two contrasting fabrics. I decided to go for a floral, Cath Kidston-style look for this particular phone holder using two Tilda fabrics from Elephant in my Handbag. Like the idea? Well read on as there's a fabric giveaway and reader offer at the end too!
![]()
![]()
You will need:
1 x outer fabric 4.5" wide x 14" long
1 x lining fabric 4.5" wide x 14" long
1 x medium weight sew-in interfacing* 4.5" wide x 14" long
*I use sew-in interfacing as I find it's a bit weightier than fusible and provides a bit more cushioning. If you'd rather use fusible interfacing, then iron it to the reverse of the outer fabric piece before you start.
A 1 inch square of sew-in Velcro. I don't use adhesive Velcro as it gums up your needle (ask me how I know!)
![]()
1. Right, we'll start by making a fabric sandwich:
Place the outer fabric piece face UP on top of the interfacing piece
Place the lining piece face DOWN on top of the outer fabric (so that right sides are together).
Pin in place through all layers.
![]()
![]()
2. Starting about a third of the way in from one of the SHORT edges, sew all the way around the long rectangle, finishing the same distance from the corner of the other short edge. I use the edge of my presser foot as a seam allowance.
![]()
3. If you're using sew-in interfacing, trim the interfacing seams down to reduce bulk. Snip all four corners on the diagonal.
![]()
4. Turn the whole thing the right way round, through the gap you've left. Use a paintbrush or similar to poke out the edges, making sure they're nice and pointy. Give the whole piece a good press, ensuring the seam allowances in the turning gap are also pressed under.
5. If you want to add a label, now's your chance. Sew it in position as close to the top edge as you can, making sure the label goes right across the turning gap. If you're not adding a label, simply stitch right the way across the top edge to close up the gap.
![]()
6. Take one half of your Velcro piece and centre it 1.5" down from the top edge. You shouldn't need to pin it in position, just hold it firmly in place with your hand. Stitch down, keeping close to the edge.
![]()
7. Stick the other half of the Velcro to the piece you've just sewn on. This will keep it safe until we come to attach it to the front flap of the case later.
![]()
8. Fold the bottom of the fabric rectangle up by 5" so the two lining sides are against each other and you've created a pouch. Pin in place securely.
![]()
9. Starting at one bottom edge, sew all the way up the sides and around the top edge of the pouch. I tend to sew about ¼" from the edge to avoid the bulky seam allowances.
![]()
10. The picture below has been turned the right way round. You can see the where it's been top stitched up one side, across the top and down the the other side. You may want to backstitch a couple of times where the two layers of fabric meet, for extra security.
11. Fold the top edge of the rectangle down over the pouch you've just sewn (just above the label). Then gently pull apart the Velcro whilst holding the unattached Velcro piece firmly onto the back of the top flap (see picture below).
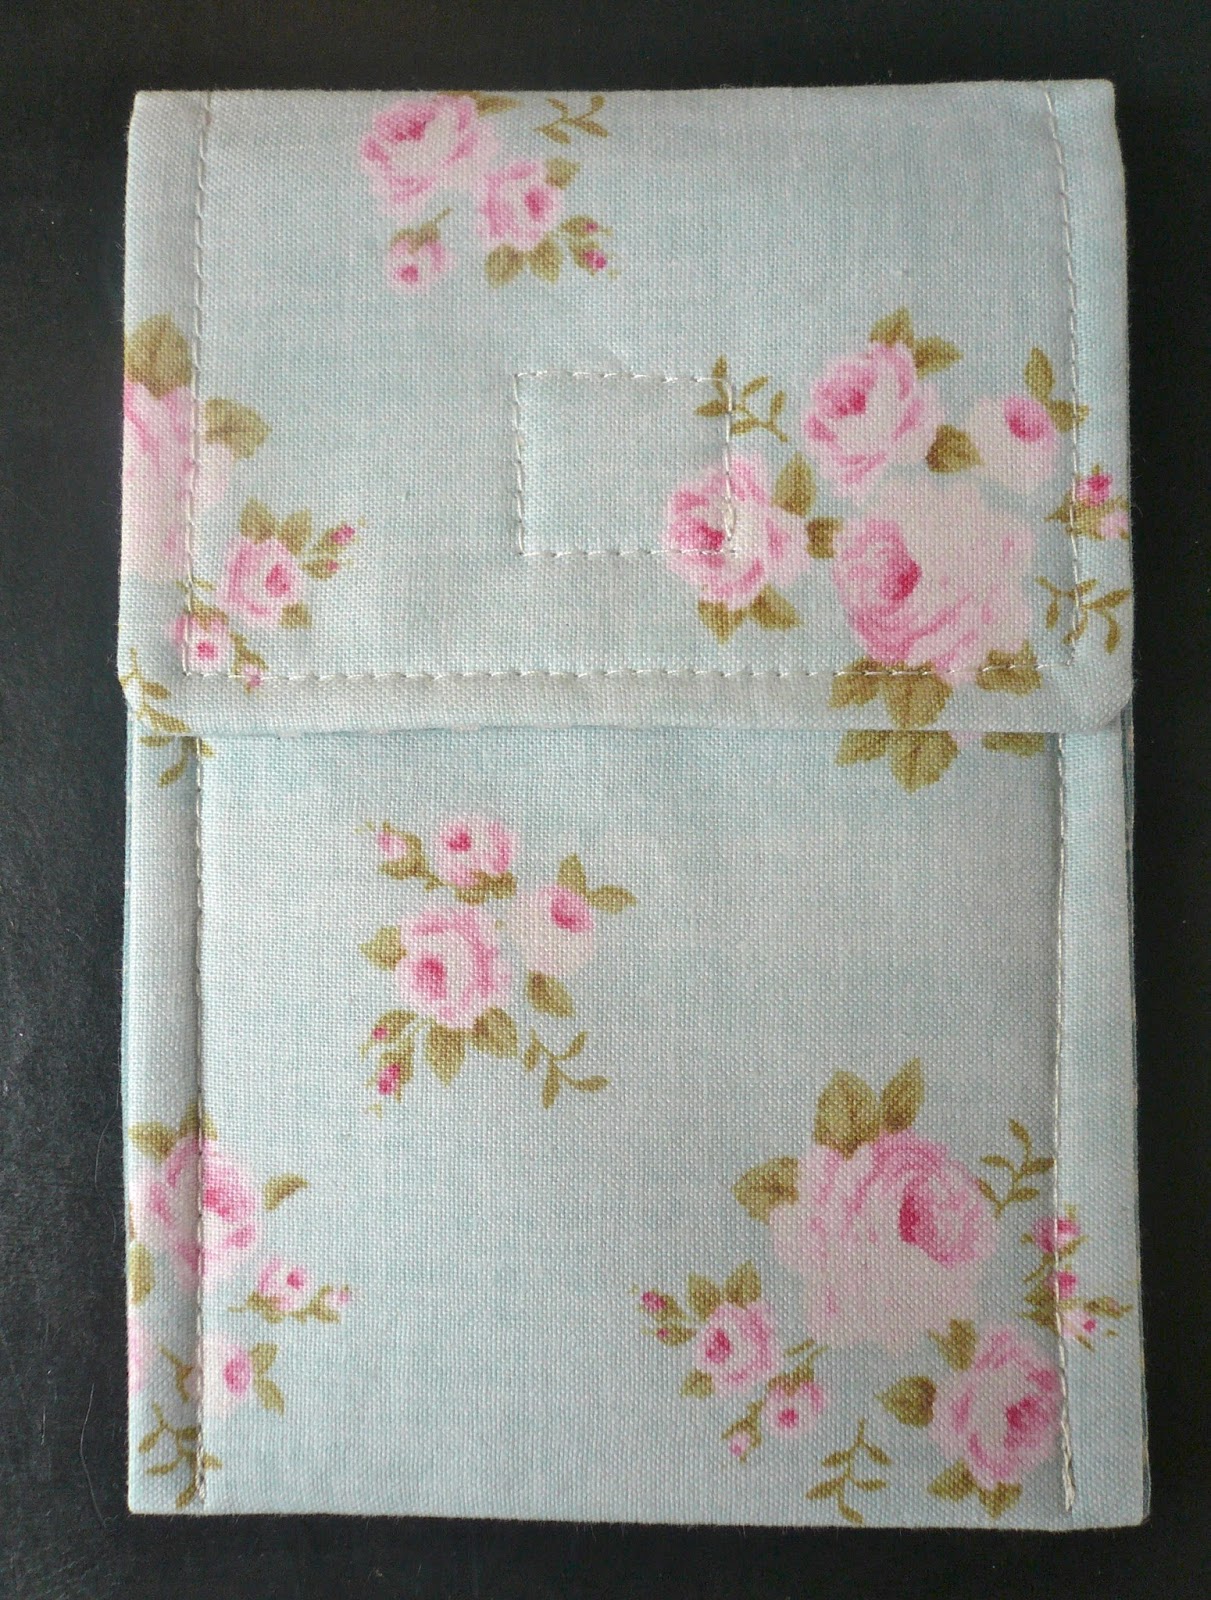
12. You may need to practice this a few times to make sure it's in exactly the right position you want. You can also just mark the position on the top flap if that's easier. Keeping tight hold of that Velcro, carefully sew it into position.
![]()
Remember, this square of stitches will be visible on the front of the pouch, so try to be as neat as you can.
![]()
13. Give everything a final press and you're done. All you need to do now is add your phone! I haven't got a fancy phone, but I do know that the dimensions for this phone holder are large enough for an iPhone.
![]()
I hope you find this tutorial useful and please do let me know if you spot anything that doesn't make sense. If you'd like to try your hand at making something similar, Elephant in my Handbag is very kindly offering one of my readers any bundle of four fat quarters from their website. Enough for many, many mobile holders, in every possible fabric combination if you so wish! To enter, have a look at the FQ bundle section and leave a comment on this post, telling me which one you'd choose if you're the winner. The giveaway is open worldwide and closes at midnight GMT on Tuesday 15th April. The winner will be chosen at random and announced on the blog.
And there's more….! Readers of my blog can also claim a 10% discount off one purchase from Elephant in my Handbag. Hoorah! Just enter the code JANE at the checkout (one use per customer).
Thank you very much to Stephanie at Elephant in my Handbag for generously offering this fab giveaway and good luck everybody!

You will need:
1 x outer fabric 4.5" wide x 14" long
1 x lining fabric 4.5" wide x 14" long
1 x medium weight sew-in interfacing* 4.5" wide x 14" long
*I use sew-in interfacing as I find it's a bit weightier than fusible and provides a bit more cushioning. If you'd rather use fusible interfacing, then iron it to the reverse of the outer fabric piece before you start.
A 1 inch square of sew-in Velcro. I don't use adhesive Velcro as it gums up your needle (ask me how I know!)

1. Right, we'll start by making a fabric sandwich:
Place the outer fabric piece face UP on top of the interfacing piece
Place the lining piece face DOWN on top of the outer fabric (so that right sides are together).
Pin in place through all layers.


 |
| Starting point |

3. If you're using sew-in interfacing, trim the interfacing seams down to reduce bulk. Snip all four corners on the diagonal.

4. Turn the whole thing the right way round, through the gap you've left. Use a paintbrush or similar to poke out the edges, making sure they're nice and pointy. Give the whole piece a good press, ensuring the seam allowances in the turning gap are also pressed under.
 |
| Turning gap with seams pressed under |

6. Take one half of your Velcro piece and centre it 1.5" down from the top edge. You shouldn't need to pin it in position, just hold it firmly in place with your hand. Stitch down, keeping close to the edge.

7. Stick the other half of the Velcro to the piece you've just sewn on. This will keep it safe until we come to attach it to the front flap of the case later.

8. Fold the bottom of the fabric rectangle up by 5" so the two lining sides are against each other and you've created a pouch. Pin in place securely.

9. Starting at one bottom edge, sew all the way up the sides and around the top edge of the pouch. I tend to sew about ¼" from the edge to avoid the bulky seam allowances.

10. The picture below has been turned the right way round. You can see the where it's been top stitched up one side, across the top and down the the other side. You may want to backstitch a couple of times where the two layers of fabric meet, for extra security.
 |
| My stitching's a bit wonky on one side... |
 |
| Pull apart the Velcro and hold it in position |

Remember, this square of stitches will be visible on the front of the pouch, so try to be as neat as you can.
13. Give everything a final press and you're done. All you need to do now is add your phone! I haven't got a fancy phone, but I do know that the dimensions for this phone holder are large enough for an iPhone.

 |
| Your phone safely inside - all snug |
I hope you find this tutorial useful and please do let me know if you spot anything that doesn't make sense. If you'd like to try your hand at making something similar, Elephant in my Handbag is very kindly offering one of my readers any bundle of four fat quarters from their website. Enough for many, many mobile holders, in every possible fabric combination if you so wish! To enter, have a look at the FQ bundle section and leave a comment on this post, telling me which one you'd choose if you're the winner. The giveaway is open worldwide and closes at midnight GMT on Tuesday 15th April. The winner will be chosen at random and announced on the blog.
And there's more….! Readers of my blog can also claim a 10% discount off one purchase from Elephant in my Handbag. Hoorah! Just enter the code JANE at the checkout (one use per customer).
Thank you very much to Stephanie at Elephant in my Handbag for generously offering this fab giveaway and good luck everybody!


